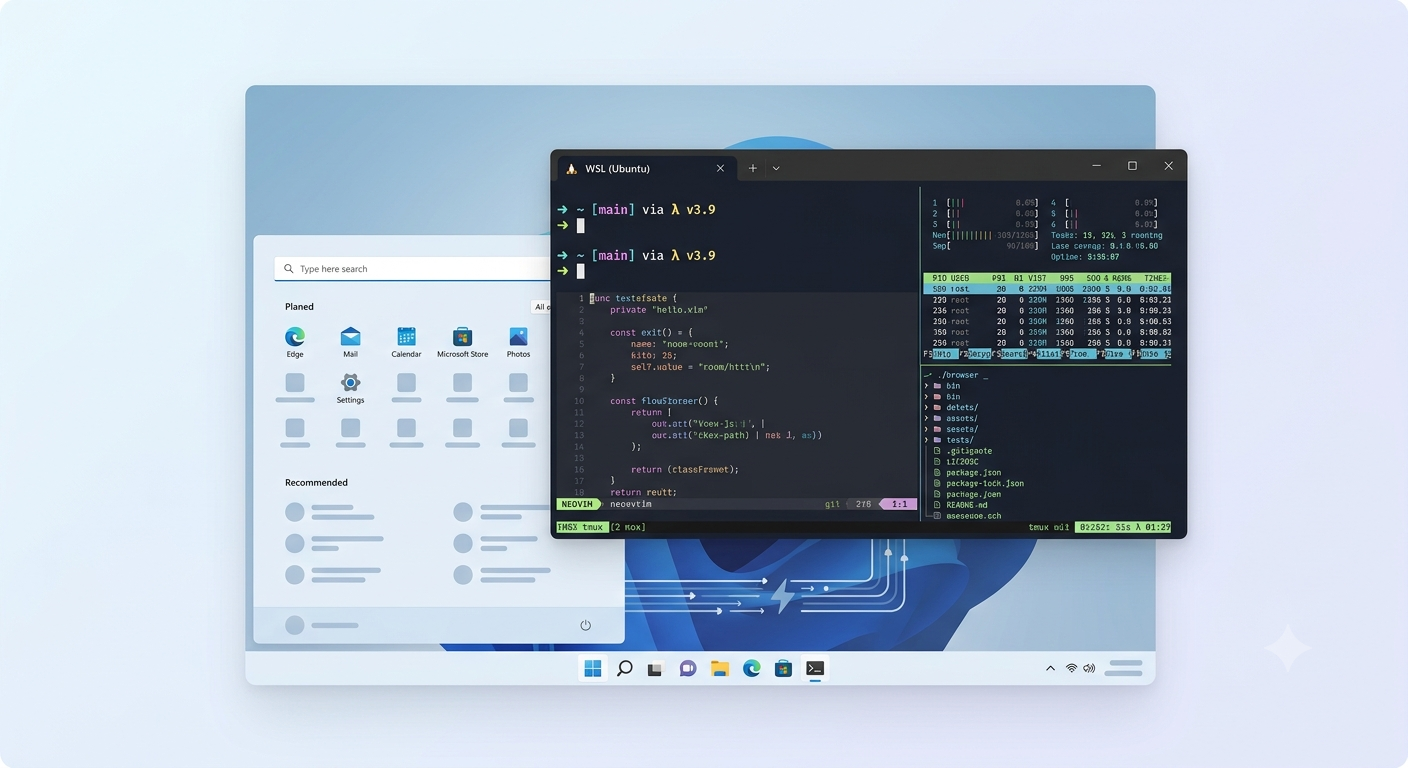
I am mostly a Linux user. That’s what I have in my personal laptop, and what I used for years, when in the Academia. Unfortunately, my change to the industrial world forced me to work with Windows, namely developing with C#. A few months ago, developing AI tools, That shift to Python allowed me to work with MacOS for a few months. It was not Linux, but it felt a lot more, than Windows. Unfortunately, now I am back to a Windows machine. The good news is that, for what I need to do, I can just work with WSL.
Thus, decided to configure it, following my ideas of what is a perfect Linux environment for me. Of course, different people have different ideas. Therefore, this tutorial is opinionated, following my own preferences.
WSL
First, the introductions. WSL (Windows Subsystem for Linux) lets you run a real Linux environment inside Windows. You can almost see it as a virtual machine. Thus, more people mention that it feels like we are using SSH to access a remote machine. But with some tweaks, you can make it integrating more smoothly with Windows.
WSL allows you to install different distributions. You can go with whatever you like. I use Debian Linux on my servers, and Linux Mint on my laptop (mainly compatibility issues). Thus, I chose Debian for its stability and minimal footprint.
Step 1: Install WSL and Debian
Open PowerShell as Administrator and type: wsl --install -d Debian. It should work out of the box. If not, you should find help online. You might need to make sure the Windows features are enabled. After installation, Debian will prompt you to create a username and password.
There are two versions of WSL. We want WSL 2, that should come with any recent Windows 11. Just make sure to make it is the default: wsl --set-default-version 2.
Step 2: Configure WSL
Create the file C:\Users\YourName\.wslconfig with the following content:
[wsl2]
networkingMode=nat
memory=8GB
processors=4Make sure you do not add an extension to the file. If you are using notepad, save it choosing the ‘All types’, and uncheck the tick for appending the extension by default.
Note: There is another option for network, named networkingMode=mirrored (shared IP between Windows and WSL), but it has a known issue hijacking ::1 (IPv6 localhost), which breaks some applications. NAT is safer and more reliable.
Apply the config:
wsl --shutdown
wsl -d DebianThen, inside WSL, check if the config file was read and honored:
free -h        # should show ~8GB
nproc # should show 4Step 3: Install Windows Terminal
Windows’ default terminal is a waste of disk space. Fortunately, there are good alternatives. One of them is the Microsoft Windows Terminal. You can download it from their GitHub, use Microsoft Store to install it, or use the winget command line utility:
winget install Microsoft.WindowsTerminalWindows Terminal will auto-detect your Debian installation and add it as a profile. Do not manually add it — let Windows Terminal discover it on its own.
Step 4: Install JetBrainsMono Nerd Font
Nerd Fonts are patched versions of popular developer fonts that include icons and glyphs used by tools like Starship. If you like emojis, ligatures (like -> as →) and other eye candy, install it:
- Go to https://www.nerdfonts.com/font-downloads
- Download JetBrainsMono Nerd Font
- Extract the zip, select all
.ttffiles, right-click and use the Install for all users option.
Step 5: Configure Windows Terminal
Next, configure Windows Terminal to use this font. For that, start the Windows Terminal, go the preferences (press Ctrl+,) and click the button at the bottom: Open JSON file. Configure the defaults section:
{
  "defaultProfile": "{your-debian-guid}",
  "profiles": {
    "defaults": {
      "font": {
        "face": "JetBrainsMono Nerd Font Mono",
        "size": 11
      },
      "opacity": 95,
      "useAcrylic": true,
      "scrollbarState": "hidden"
    }
  }
}Do not forget to change the default profile text to your Debian GUID. To find it, look for it in the "list" array inside "profiles" in the same JSON file. Set it as defaultProfile so Debian opens Debian by default.
Step 6: Make Windows and WSL See Each Other
To reduce the feeling that WSL is a separate machine from my Windows machine, I like to be able to access the Windows files from within WSL, and if needed, access WSL from Windows.
By default WSL makes your Windows files available under /mnt/c/Users/YourUserName/. To make it simpler, I just created a link inside my home folder in WSL:
ln -s /mnt/c/Users/YourUserName ~/win-homeNow, I can just change directory to ~/win-home and I am in my Windows home folder.
The other way around is also possible. Open a file explorer windows, and enter the following path: \\wsl$\Debian\home\yourusername\ and you should see your home from WSL. If you want to make it easier to remember, just pin it to Quick Access.
Note that you can run Window’s commands from WSL:
explorer.exe .        # open current folder in Explorer
code .                # open VS Code
notepad.exe file.txtAnd the other way around, accessing Linux commands from PowerShell.
wsl ls -la /home/yourname
wsl grep -r "foo" /home/yourname/projectsStep 7: Set the WSL Starting Directory
Not sure why, my default WSL started in /mnt/c/Windows/system32 and not in my home folder. If this happens to you, you can fix this in Windows Terminal: Ctrl+, to get to preferences, select the Debian profile and set Starting directory to: \\wsl$\Debian\home\yourusername
Step 8: Enable Linux GUI Apps (WSLg)
WSLg is built into Windows 11 and lets you run Linux GUI apps as native Windows windows. Just open WSL and test it:
sudo apt install -y x11-apps
xclockA clock window should appear on your Windows desktop. You may see a harmless warning about missing charsets — ignore it.
Step 9: Install my essentials
I use bash by default, I like to have a compiler, git, and access to the web. Also, I use tmux. So, I installed everything:
sudo apt update && sudo apt upgrade -y
sudo apt install -y git curl wget build-essential unzip tmuxStep 10: Install Starship Prompt
Starship is a fast, minimal prompt that shows git status, language versions, and more. It is not just eyecandy, as it shows useful information. I installed it to ~/.local/bin to keep things tidy under my user:
mkdir -p ~/.local/bin
curl -sS https://starship.rs/install.sh | sh -s -- --bin-dir ~/.local/binThen, edit ~/.bashrc to make sure ~/.local/bin is in your PATH, and initialize starship:
export PATH="$HOME/.local/bin:$PATH"
eval "$(starship init bash)"After testing a few themes, I selected the Pastel Powerline preset — a colourful, single-line prompt:
mkdir -p ~/.config
starship preset pastel-powerline -o ~/.config/starship.tomlStep 11: Configure tmux
tmux is a terminal multiplexer — it lets you split your terminal into panes, keep sessions running after you close the window, and switch between contexts without opening new tabs. It is configured editing ~/.tmux.conf:
set -g mouse on
set -g base-index 1
set -g status-style bg=black,fg=white
set -g default-terminal "screen-256color"I like that my terminal opens tmux automatically, so I added this to the very end of ~/.bashrc:
if command -v tmux &>/dev/null && [ -z "$TMUX" ]; then
    tmux attach 2>/dev/null || tmux new-session
fiThe [ -z "$TMUX" ] check prevents tmux from launching inside itself.
The Result
Opening Windows Terminal now drops you straight into a Debian shell inside tmux, with a colourful Starship prompt, Nerd Font glyphs, and seamless access to both your Linux home and your Windows files. GUI Linux apps open as native Windows windows.
It’s not Linux. But it’s close enough to feel at home.
Next step? Good buy JetBrain’s IDEs. I am back to the basics with Emacs. News on that soon!